
Stadium LED Display Manufacturer in Patna: Fan Experience Guide
September 2, 2026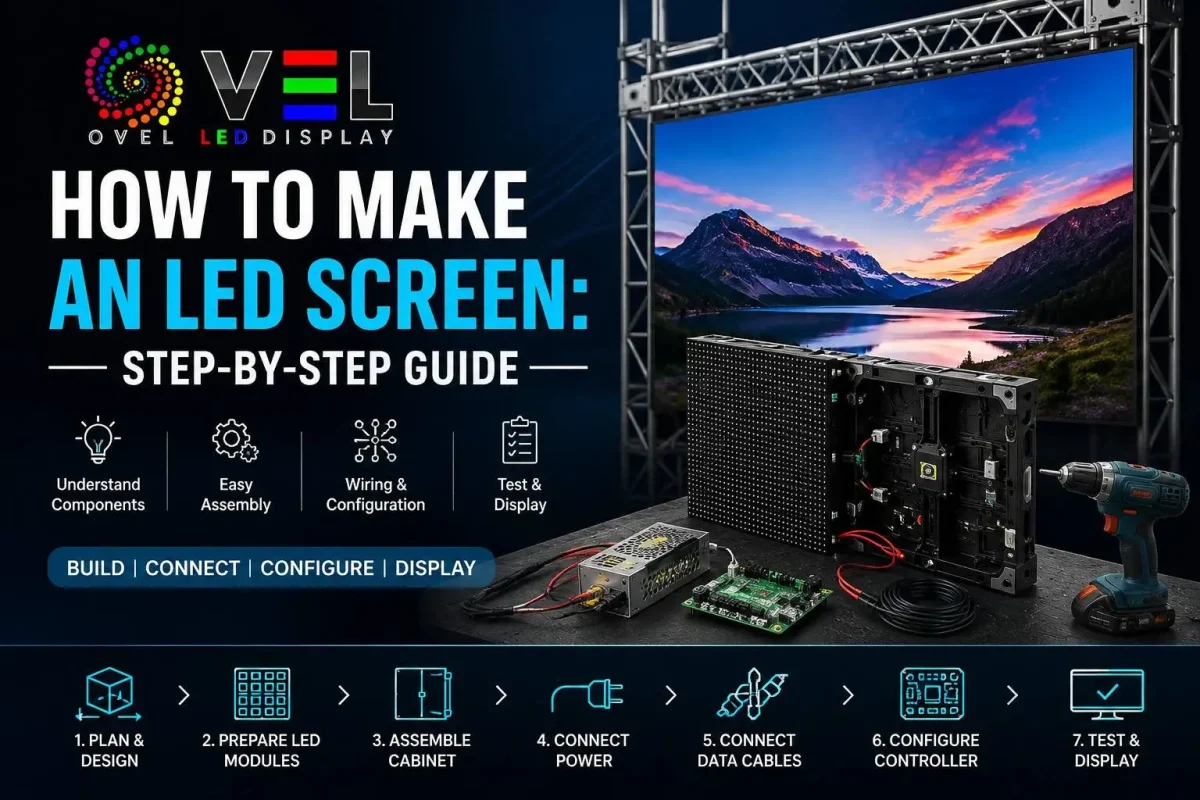
How to Make an LED Screen: A Complete Step-by-Step Guide ?
If you’ve searched how to make an LED screen, you’ve probably landed on two kinds of content: hobbyist videos showing a small DIY panel wired to an Arduino, or dense technical manuals that read like an engineering thesis. Neither really answers the question most people actually have — what does it take to build an LED display that works reliably, looks sharp, and doesn’t fail in six months?
We’re Ovel LED, and we manufacture indoor, outdoor, mobile van, and stadium LED display systems out of our facility in Howrah, West Bengal, with active projects and support coverage across Patna, Siliguri, and Bhubaneswar. We’ve built displays for events, corporate offices, schools, and stadiums — including installations like the Kanpur Army office video wall and Tarapore School in Jamshedpur. This guide is written from that manufacturing floor experience, not from a textbook.
Whether you’re a systems integrator, an electronics student, or a business owner trying to understand what you’re actually paying for, this article walks through the real LED screen making process — the same one used in commercial-grade manufacturing.
What Is an LED Screen ?
An LED screen is a display made of thousands of small light-emitting diodes arranged in a grid, grouped into modules, and controlled by a processing system that converts video or image signals into pixel-level light output. Each pixel is typically made of red, green, and blue diodes that combine to create full-color images.
Unlike LCD or projector screens, LED displays don’t rely on backlighting — each diode emits its own light, which is why they achieve higher brightness, better contrast, and longer viewing distances, making them the standard choice for outdoor advertising, stadiums, and large indoor video walls.
Why People Want to Know How LED Screens Are Made ?
Understanding the LED screen making process matters for a few practical reasons :
- Buyers want to know what separates a ₹40,000 panel from a ₹4,00,000 one
- Integrators need to understand assembly to install and troubleshoot correctly
- Students and hobbyists want to build small-scale displays for learning or events
- Businesses evaluating vendors want to ask the right technical questions
We’ve noticed a common mistake: buyers often compare LED screens purely on price per square foot, without understanding what’s happening inside the module. That’s how a lot of businesses end up with screens that dim unevenly or fail within a year.
How to Make an LED Screen: Step-by-Step Process ?
Here’s the direct answer: building an LED screen involves designing the PCB layout, mounting LED chips, assembling modules into cabinets, wiring the control system, calibrating color and brightness, and integrating a media player or video processor. Below is how each stage actually works.
Step 1: Define the Application and Pixel Pitch
Before any manufacturing begins, you need to decide where the screen will live and how close viewers will stand.
- Indoor LED screens typically use a finer pixel pitch (P1.5–P3) for close-viewing clarity — ideal for offices, control rooms, and retail.
- Outdoor LED screens use a coarser pixel pitch (P4–P10) since viewers stand farther away, and they need higher brightness (5,000+ nits) and IP65-rated weatherproofing.
- Stadium and large venue screens balance pixel pitch with massive viewing distances and need reinforced structural mounting.
This decision drives every choice that follows — chip type, cabinet material, power supply sizing, and cooling design.
Step 2: Design and Fabricate the PCB
The printed circuit board (PCB) is the backbone of every LED module. Engineers design the circuit layout to place LED chips at precise intervals matching the chosen pixel pitch, along with driver ICs that control brightness and switching speed for each diode.
A common industry mistake here: cutting cost on PCB copper thickness. Thinner copper traces overheat under sustained use, which is one of the leading causes of premature module failure in cheaper displays.
Step 3: Mount the LED Chips (SMD or COB)
Two main technologies dominate this stage:
| Technology | How it works | Best for |
|---|---|---|
| SMD (Surface Mount Device) | Individual RGB diodes mounted on the PCB surface | Most indoor/outdoor displays, cost-effective |
| COB (Chip on Board) | LED chips bonded directly onto the board and sealed | Ultra-fine pixel pitch, better durability, less pixel damage |
We manufacture COB P1.5 indoor panels specifically because COB technology reduces dead pixels and handles impact better than traditional SMD — a detail that matters a lot in high-traffic environments like schools and offices.
Step 4: Assemble the Module and Cabinet
Individual PCB modules are mounted into a cabinet — typically die-cast aluminum for outdoor/rental use (lightweight, heat-dissipating) or steel/iron for fixed installations. This is where mechanical engineering matters as much as electronics: uneven cabinet alignment causes visible seams between modules once the screen is powered on.
Step 5: Install the Power Supply and Control System
Every LED screen needs:
- Power supply units (PSUs) to convert AC mains into the low-voltage DC each module needs
- Receiver cards on each module that interpret signal data
- A sending card/video processor that splits the source signal (from a media player, laptop, or camera feed) across all modules in sync
Poor power distribution is another common failure point — undersized PSUs cause voltage drop across large screens, leading to dimming at the edges.
Step 6: Calibrate Brightness and Color Uniformity
Even chips from the same production batch have slight brightness and color variance. Professional manufacturers run each screen through calibration software that measures and corrects pixel-level output so the entire display looks uniform — this step alone is a major differentiator between factory-grade and hobbyist-grade screens.
Step 7: Test, Burn-In, and Quality Check
Before shipping, screens typically undergo a burn-in test — running continuously for 24–72 hours to catch early component failures, followed by checks for dead pixels, color consistency, and structural integrity.
Step 8: Install and Configure On-Site
Final on-site steps include mounting the structure, connecting modules, running the control software, and configuring content playback — whether that’s a static ad loop, live video feed, or stadium scoreboard data.
How to Build an LED Screen at Home (Small-Scale/DIY) ?
If your goal is a small hobbyist panel rather than a commercial display, the process simplifies considerably:
- Source pre-made LED matrix panels (e.g., P10 modules) rather than fabricating your own PCB
- Use a controller board (like a Colorlight or Novastar receiver card, or an Arduino/Raspberry Pi for basic projects)
- Wire modules in a chain using ribbon cables
- Build or 3D-print a frame to hold panels flush
- Connect a power supply matched to your panel’s voltage and current draw
- Run free software (like LedEdit or MadMapper) to control content
This works well for learning projects or small displays, but it’s worth being honest: DIY builds using consumer-grade panels don’t match the brightness uniformity, weatherproofing, or lifespan of factory-calibrated commercial screens — which is exactly why most businesses choose manufactured solutions for anything customer-facing.
Benefits of a Professionally Manufactured LED Screen
- Longer lifespan — commercial-grade chips are rated for 60,000–100,000 hours vs. a fraction of that for consumer panels
- Uniform brightness and color — factory calibration eliminates visible seams and dead spots
- Weatherproofing — IP65-rated cabinets for outdoor use, tested against dust and rain
- Scalability — modules can be added or reconfigured for different venue sizes
- Warranty and support — manufacturer backing for repairs and part replacement
Common Mistakes to Avoid
- Choosing pixel pitch based on price, not viewing distance — a P10 screen viewed up close will look pixelated regardless of brand
- Ignoring ventilation — outdoor cabinets without proper heat dissipation shorten LED lifespan significantly
- Underestimating power requirements — undersized PSUs cause flickering and uneven brightness
- Skipping burn-in testing — this is how dead pixels get missed before installation
- Buying from vendors without local support — screens across Patna, Siliguri, and Bhubaneswar need service access, not just a delivery
Cost of Making or Buying an LED Screen
LED screen pricing depends primarily on pixel pitch, indoor vs. outdoor rating, and screen size. As a general guide:
- Fine-pitch indoor (P1.5–P2.5): Higher cost per sq. ft. due to chip density — best for close-viewing corporate and retail spaces
- Standard indoor (P3–P4): Mid-range pricing, common for conference rooms and video walls
- Outdoor (P6–P10): Priced for brightness and weatherproofing rather than pixel density
Rather than quoting a flat number that goes stale, we recommend getting a project-specific quote based on your venue size, viewing distance, and indoor/outdoor requirement — this is the only way to get an accurate estimate
Indoor LED Screen: What Makes It Different
An indoor LED screen uses a finer pixel pitch, lower brightness (800–1,500 nits, since there’s no sunlight to compete with), and a lighter cabinet design since it doesn’t need weatherproofing. It’s built for close-range clarity in offices, retail stores, control rooms, and event stages — the exact opposite design priorities of an outdoor screen.
Conclusion
Learning how to make an LED screen means understanding a chain of decisions — pixel pitch, chip technology, PCB design, cabinet build, power distribution, and calibration — where every stage affects how the final display performs. Whether you’re building a small DIY panel or specifying a commercial installation, the principles are the same: match the technology to the viewing environment, and don’t cut corners on components you can’t see once the screen is powered on.
If you’re in Patna, Siliguri, or Bhubaneswar and evaluating LED screens for advertising, events, corporate spaces, or stadiums, our team at Ovel LED can walk you through pixel pitch selection, indoor vs. outdoor requirements, and a project-specific quote based on your actual space.
Get in touch with Ovel LED today for a free consultation on your LED display project.
Frequently Asked Questions
An LED screen is made by designing a PCB, mounting LED chips (SMD or COB), assembling modules into cabinets, wiring power and control systems, calibrating brightness/color, and integrating a video processor for content playback.
Yes, for small-scale projects. You can buy pre-made LED matrix panels, wire them to a controller board, and power them through a matched PSU. However, DIY builds won’t match the brightness uniformity or lifespan of commercial-grade screens.
SMD mounts individual diodes on the PCB surface, while COB bonds chips directly onto the board under a protective coating. COB typically offers better durability and fewer dead pixels, especially in fine-pitch displays.
Cost depends on pixel pitch, indoor/outdoor rating, and total size. Fine-pitch indoor screens cost more per square foot due to chip density, while outdoor screens are priced around brightness and weatherproofing. Getting a project-specific quote is the most accurate approach.
Choose pixel pitch based on viewing distance — finer pitch (P1.5–P3) for close-range indoor viewing, and coarser pitch (P6–P10) for outdoor displays viewed from a distance.
Yes. Regular checks on ventilation, power supply units, and module connections help prevent dimming, flickering, or dead pixels, especially for outdoor installations exposed to weather.