Indoor Advertising LED Display Screen: Complete Buying Guide 2026
July 20, 2026
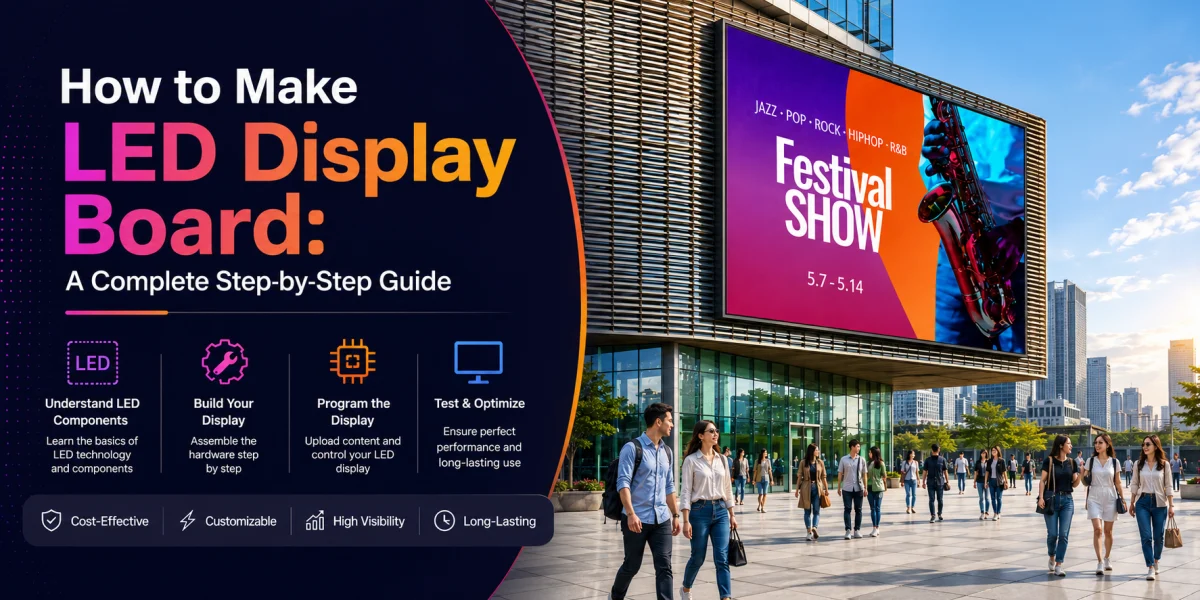
How to Make LED Display Board: A Complete Step-by-Step Guide
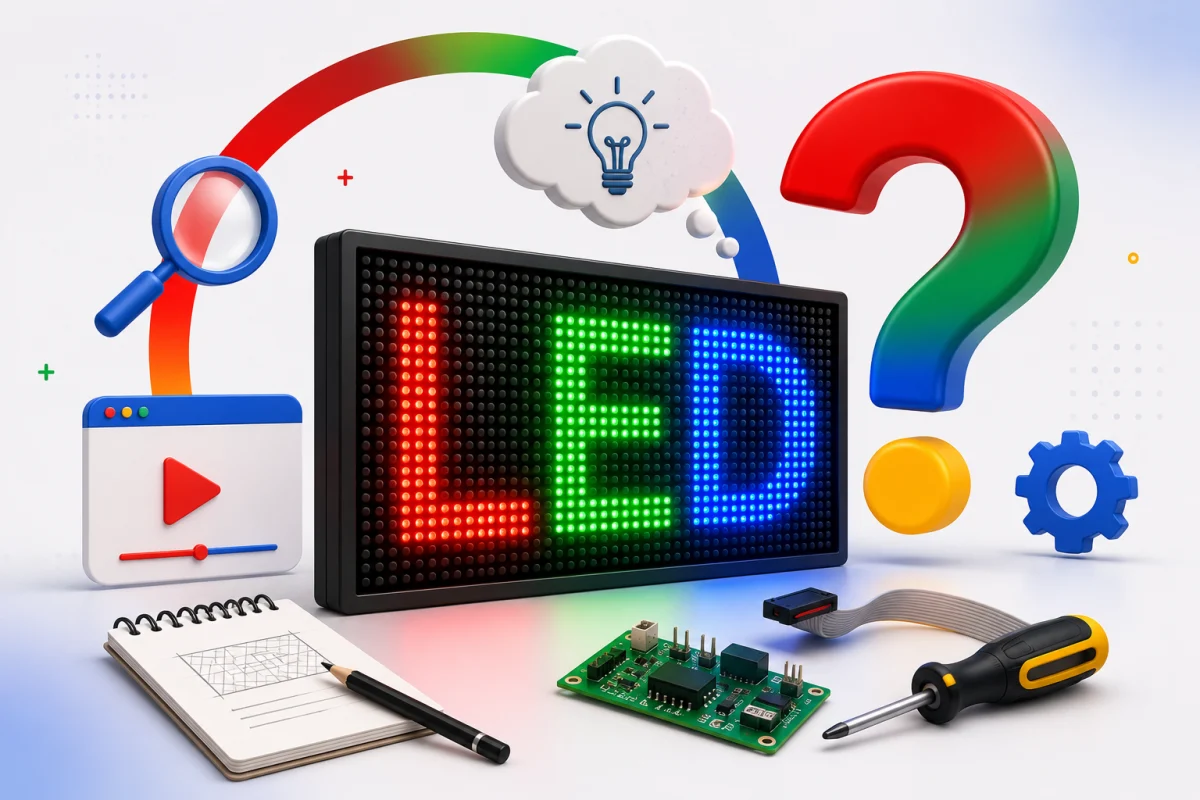
If you've ever stood under a glowing billboard or walked past a scrolling shop sign and wondered how it all comes together, you're not alone. Understanding how to make LED display board setups — from raw components to a fully working screen — helps you make smarter decisions whether you're buying one, specifying one for a client, or just curious about the technology behind it.
We're Ovel LED, and we've been manufacturing LED Display Board solutions in-house since 2020. Everything below comes from what we actually do on our production floor every day — not theory pulled from a textbook.
What Is an LED Display Board ?
An LED display board is a digital screen built from clusters of light-emitting diodes arranged in modules, controlled by software to show text, images, or video. It's used for advertising, branding, wayfinding, and live event content, and it comes in indoor and outdoor versions depending on brightness and weatherproofing needs.
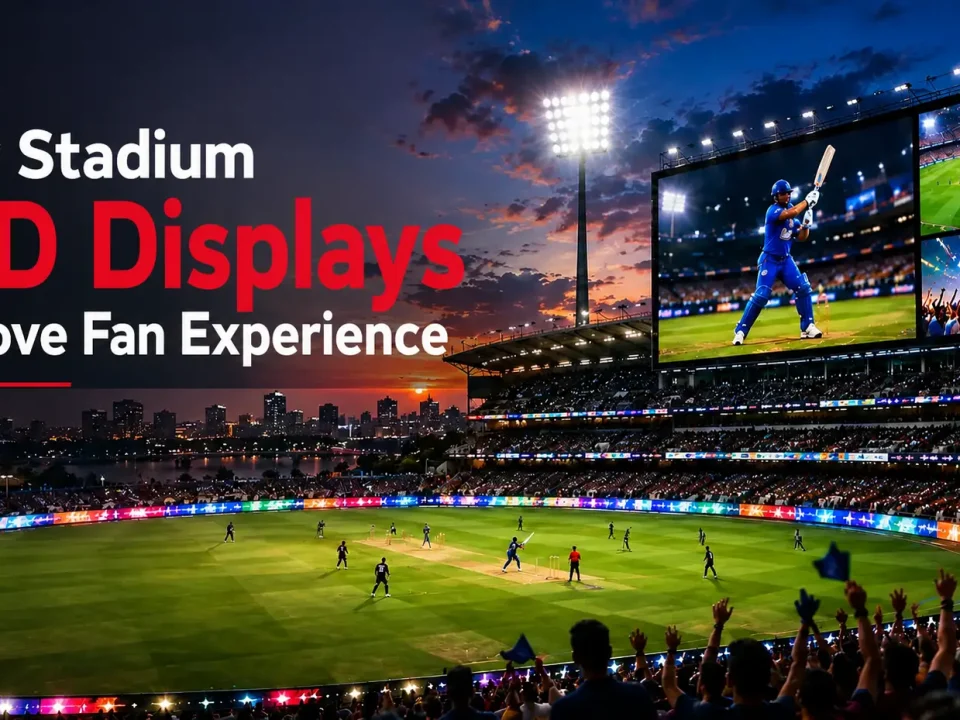
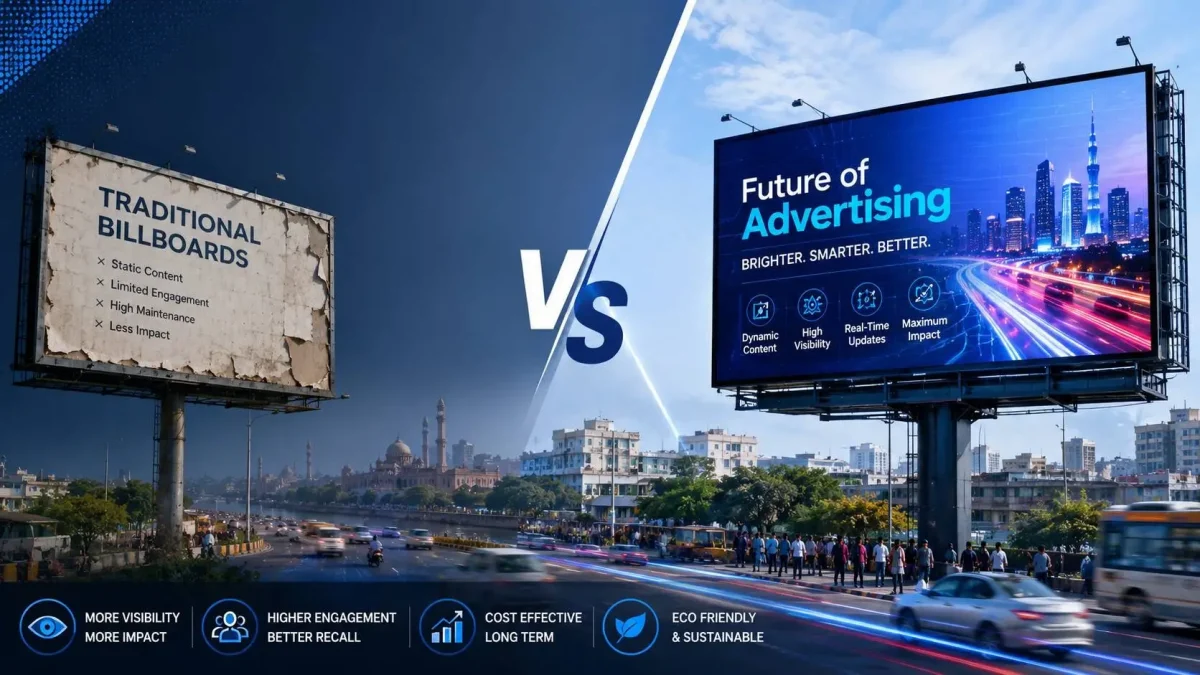
Unlike printed signage, an LED board can be updated instantly — no reprinting, no reinstalling. That's the core reason businesses across India are switching to them for everything from shop-front branding to stadium screens.
Why People Search for "How to Make LED Display Board" ?
Most people asking this question fall into three groups :
- Hobbyists and students wanting a small DIY scrolling board for a project
- Business owners trying to understand the process before ordering one
- Entrepreneurs exploring LED manufacturing as a business opportunity
This guide covers the real manufacturing process — the same one used to build commercial-grade boards — so you understand exactly what goes into a board before you buy, commission, or attempt to build one yourself.
The Core Components of an LED Display Board
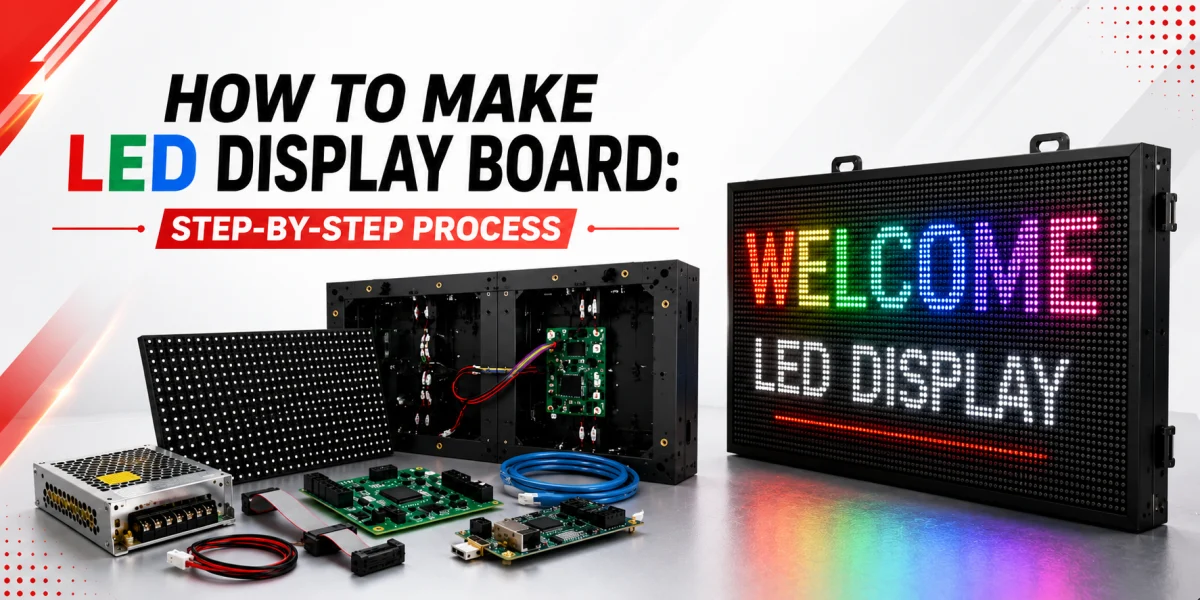
Before assembly, every LED display board is built from six essential parts :
| Component | Function |
|---|---|
| LED Modules | Contain the actual diodes that emit light and form the display image. |
| Cabinet (Aluminum / Iron) | Houses the LED modules while protecting the internal wiring and electronics. |
| Power Supply Unit | Converts and distributes electricity safely to all LED modules. |
| Receiving Card | Receives signal data from the controller and controls the LED module display. |
| Sending Card / Controller | Sends content from the computer or media player to the LED display board. |
| Flat / Data Cables | Connect LED modules, receiving cards, and controllers for signal transmission. |
A weak link in any one of these — cheap power supplies are the most common culprit — is usually why budget LED boards fail early.
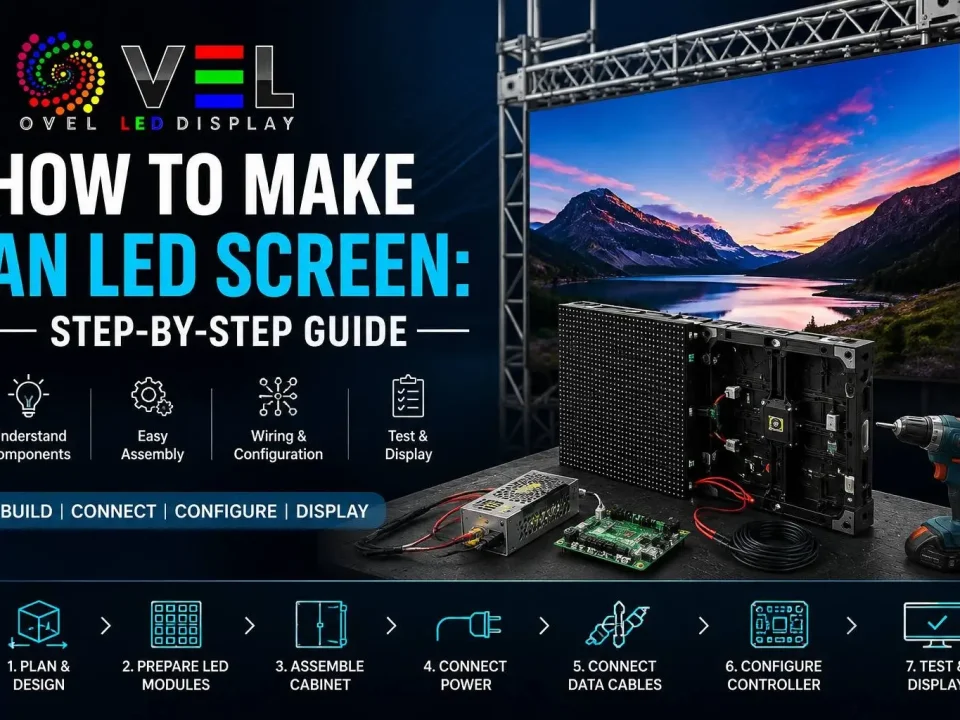
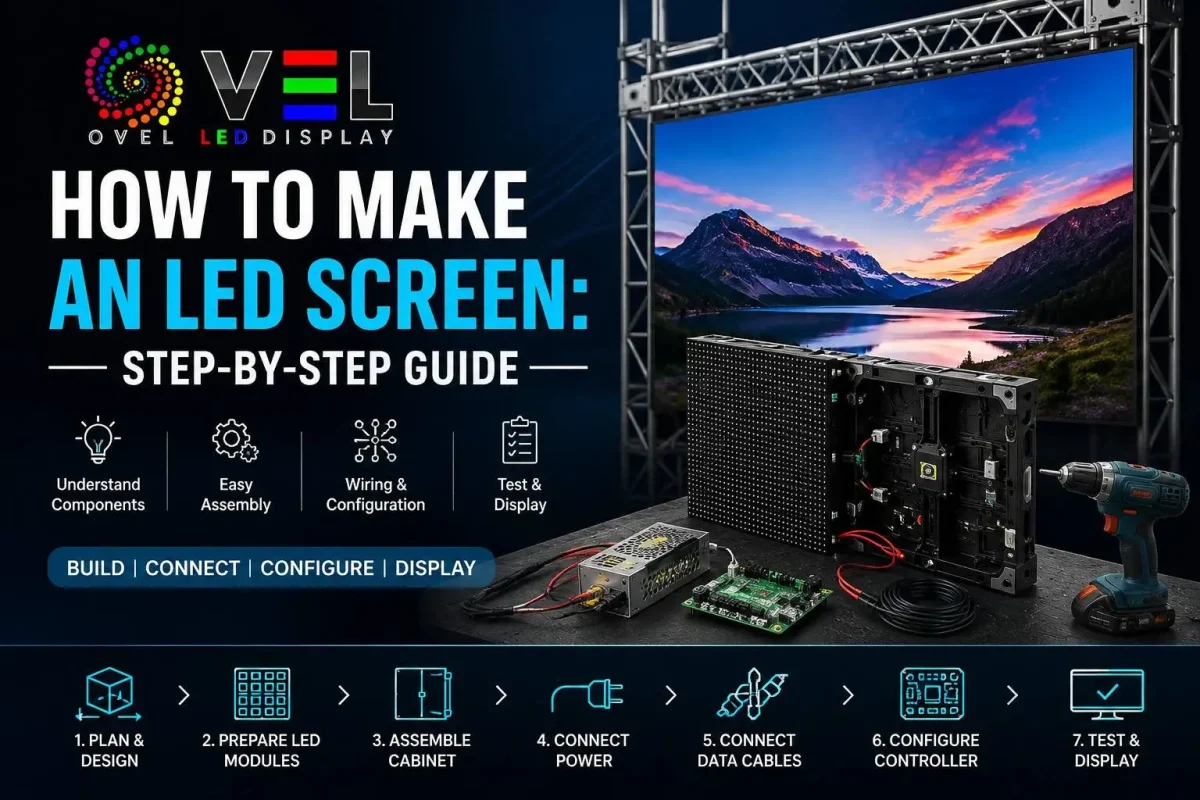
How to Make LED Display Board: Step-by-Step Process ?
Step 1: Define Purpose, Size, and Viewing Distance
Start by deciding where the board will be installed and from how far it will be viewed. A roadside hoarding needs a larger pixel pitch (P8–P10) since it's viewed from a distance, while an indoor showroom screen needs a finer pitch (P2–P3) for close-up clarity.
Step 2: Choose the Right Pixel Pitch and Panel Type
Pixel pitch determines resolution and viewing distance. Smaller pitch numbers mean sharper images but higher cost. At Ovel LED, we manufacture across P2, P3, P4, P5, P6, P8, and P10 pixel pitches, so this is matched to the client's exact use case rather than a one-size-fits-all panel.
Step 3: Select Indoor or Outdoor Grade Materials
Outdoor boards need IP65-rated weatherproof casing to handle rain, dust, and heat, while indoor boards prioritize slimmer cabinets and higher refresh rates for close viewing. Using an indoor-grade panel outdoors is one of the most common (and expensive) mistakes we see businesses make when they cut corners on sourcing.
Step 4: Assemble the Cabinet and Mount LED Modules
The modules are fitted into die-cast aluminum or iron cabinets, aligned precisely to avoid visible seams between panels. Precision here directly affects how seamless the final image looks once multiple modules are joined together.
Step 5: Wire the Power Supply and Control System
The power supply unit, receiving cards, and sending card are wired and calibrated. This step controls brightness uniformity, color accuracy, and signal stability — it's where in-house quality control matters most.
Step 6: Install Control Software and Test Content Display
Once wired, the board is connected to control software (via HDMI, DVI, USB, or LAN) to test text, image, and video playback before final calibration and color correction.
Step 7: Quality Testing Before Deployment
Every board should be tested for dead pixels, brightness consistency, and heat performance under continuous operation before it leaves the factory. This is a step many smaller vendors skip — and it's exactly why we run 100% in-house quality checks before dispatch.
Step 8: Installation and On-Site Calibration
The final step is professional installation, structural mounting, and on-site color/brightness calibration to match ambient lighting conditions at the actual site.
DIY vs Professional Manufacturing: What You Should Know
A small hobby scrolling board using an Arduino and basic LED matrix is achievable as a weekend project. But a commercial-grade LED Display Board — the kind used for advertising, branding, or stadium screens — requires precision engineering, calibrated power distribution, and weatherproofing that isn't realistic to replicate outside a proper manufacturing setup.
If your goal is a business-grade display, working with an established LED Display Board Manufacturer saves you from the trial-and-error (and cost) of building one incorrectly.
Benefits of a Professionally Manufactured LED Display Board
- Attracts more attention with dynamic, high-brightness visuals
- Long lifespan — up to 100,000 hours with proper components
- Supports text, images, and video in one system
- Remote content control and updates via software
- Built for 24x7 commercial operation without performance drop
Common Mistakes to Avoid
- Choosing the wrong pixel pitch for the viewing distance, resulting in blurry or overly expensive displays
- Using indoor panels outdoors, leading to premature failure from moisture and heat
- Skipping quality testing, which causes dead pixels and brightness inconsistency after installation
- Ignoring after-sales support, leaving you stranded if the board malfunctions
Why Businesses Choose Ovel LED as Their LED Display Board Manufacturer ?
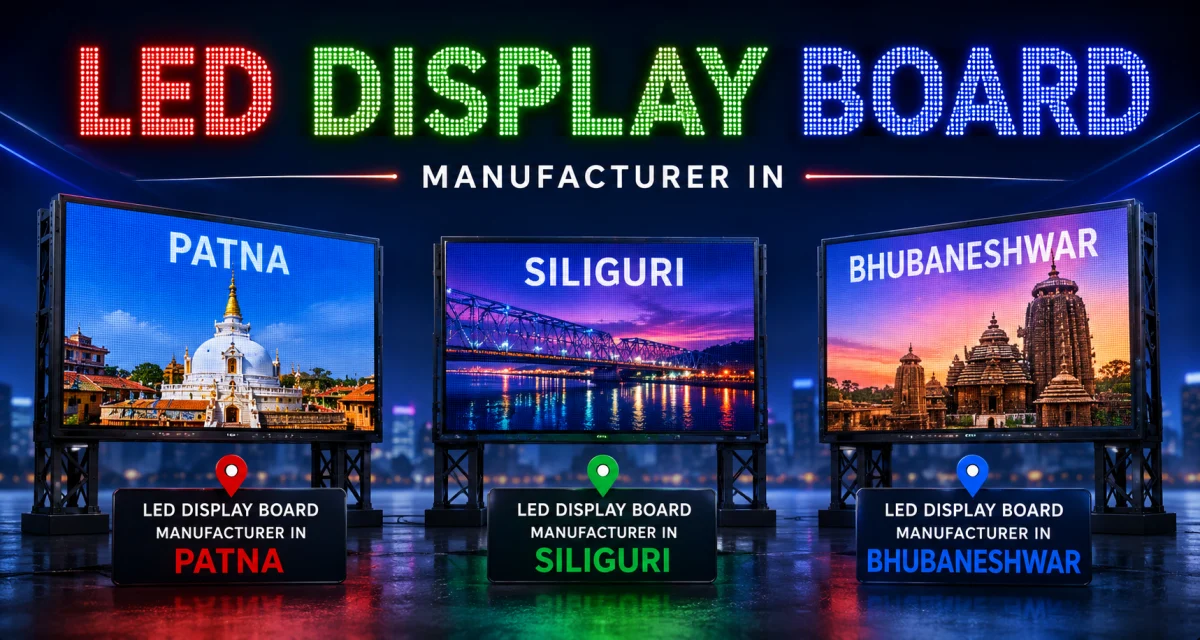
We've built our reputation as one of the Top LED Display Board Manufacturers serving Patna, Siliguri, and Bhubaneshwar by controlling every stage of production ourselves.
- 100% in-house production and quality control — no third-party assembly shortcuts
- Custom sizes and pixel pitches built to your exact site requirements
- IP65 weatherproof outdoor boards rated for -20°C to +60°C operation
- Local installation and support teams across Bihar, Bengal, and Uttarakhand
- Transparent, competitive pricing with no hidden costs
LED Display Board Manufacturer in Patna
We supply businesses, schools, and event organizers across Patna with custom indoor and outdoor LED boards for advertising, signage, and branding.
LED Display Board Manufacturer in Siliguri
Retail outlets, malls, and government offices in Siliguri rely on our team for bright, crystal-clear LED boards with local installation support.
LED Display Board Manufacturer in Bhubaneshwar
Corporate offices, hotels, and campuses across Bhubaneshwar use our indoor and outdoor boards, backed by our local service team for fast turnaround.
Conclusion
Knowing how to make LED display board setups — from selecting pixel pitch to final calibration — helps you ask the right questions whether you're commissioning one or exploring the technology yourself. The process demands precision at every stage, and cutting corners on components or testing almost always costs more in the long run.
If you'd rather skip the guesswork, our team at Ovel LED handles the entire process end-to-end — design, manufacturing, installation, and after-sales support — so your board performs the way it should from day one.
Frequently Asked Questions
An LED display board is made by assembling LED modules into a cabinet, wiring them to a power supply and receiving card, connecting a sending card/controller for content input, then testing and calibrating brightness, color, and pixel performance before installation.
Yes, a basic scrolling LED matrix board can be built at home using an Arduino or microcontroller kit for hobby projects. However, commercial-grade boards need precision engineering and weatherproof components that aren't practical to replicate outside a manufacturing facility.
Pixel pitch is the distance between LED clusters, measured in millimeters. Smaller pitch (P2–P3) gives sharper close-up images for indoor use, while larger pitch (P8–P10) suits outdoor boards viewed from a distance.
Cost depends on size, pixel pitch, and indoor/outdoor rating. Contact our team for a free, tailored quotation based on your exact requirements.
A properly manufactured LED display board can last up to 100,000 hours of operation when built with quality components and maintained correctly.
Ovel LED is a trusted LED Display Board Manufacturer offering in-house production, custom sizing, and complete installation and support services across Patna, Siliguri, and Bhubaneshwar.
Ready to Get Your LED Display Board ?
Whether you need a compact indoor screen or a large outdoor advertising board, our team is ready to help. Contact Ovel LED today for a free quotation and let's bring your brand to life.